
Install TiSPY oniPhone & iPad
Which computer will you use?
The app installs on your computer and reads the iPhone over a cable — no jailbreak needed.
Pick the version that matches the computer you’ll use — not the phone.
Make sure you have everything ready before you begin.
Three things, one simple connection.
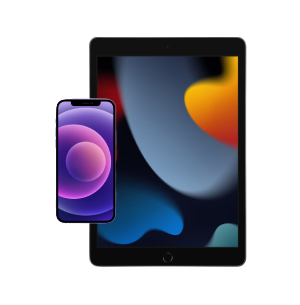
Kid's iOS Device
iPhone or iPad signed into your child's Apple ID
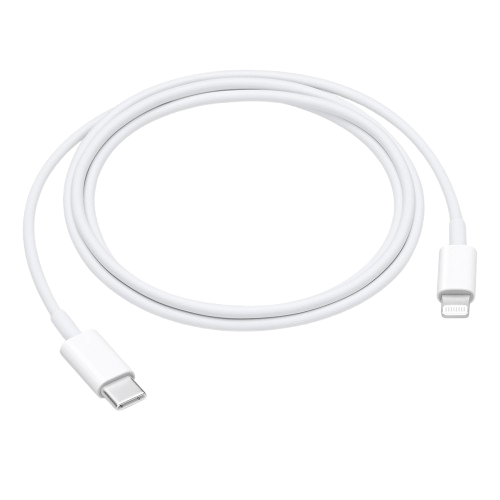
Charging Cable
Original Lightning / USB-C cable to connect to the computer
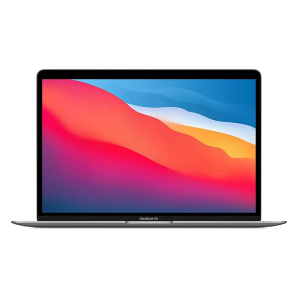
Home Computer
Mac or Windows PC where the TiSPY desktop app will run
Follow these 4 steps
Tap any step to expand. We'll guide you through every screen.
Choose the computer you'll use to install TiSPY. Steps differ slightly between macOS and Windows.
Turn OFF "Encrypt local backup" and enable Wi-Fi sync so the app can read device data.
- 1Connect the iOS device to your Mac with a cable.
- 2Open Finder, then click the device in the sidebar.
- 3Under General → Backups, select "Back up all of the data on your iPhone to this Mac".
- 4ImportantUNCHECK "Encrypt local backup" (very important).
- 5Under Options, ENABLE "Sync with this iPhone over Wi-Fi".
- 6Click Apply.
Turn OFF "Encrypt local backup" and enable Wi-Fi sync so the app can read device data.
- 1Install iTunes for Windows from apple.com.
- 2Connect the iOS device to your PC with a cable.
- 3Open iTunes and select the device icon.
- 4Under Summary → Backups, choose "This computer".
- 5ImportantUNCHECK "Encrypt local backup" (very important).
- 6Enable "Sync with this iPhone over Wi-Fi".
- 7Click Apply.
Download TiSPY Desktop App to monitor iOS device
tispy.app/ios_mOpen this link in your computer’s browser to download the installer.
Open the .pkg installer
Double-click TiSPY.pkg to start the installation wizard.
Allow unidentified developer
If macOS blocks the installer, open System Settings → Privacy & Security.
Open System Preferences
Search "Security" in Spotlight if you can't find it.
Click Security & Privacy
Go to the General tab to see the blocked app notice.
Click "Open Anyway"
Authorize TiSPY to run. You may need to enter your Mac password.
Follow on-screen prompts
Complete the installer wizard with default settings.
Launch TiSPY
Use Spotlight (Cmd + Space) to search for TiSPY and open it.
macOS Ventura users
Click "Cancel" — do not move it to the Bin.
Allow in Privacy & Security
On Ventura, you may need to click Open Anyway one more time in Privacy & Security.
Download TiSPY Desktop App to monitor iOS device
tispy.app/ios_wOpen this link in your computer’s browser to download the installer.
Open the TiSPY installer
Double-click the downloaded TiSPY.exe file.
Click "Run Anyway"
If Windows SmartScreen warns you, choose More info → Run anyway.
Log in with your TiSPY account
Enter the same email & password you used to sign up.
Install Apple Device Support
When prompted, install the Apple Device Support component.
Pair the iOS device with TiSPY and select it for monitoring.
Log in to TiSPY desktop app
Use your TiSPY account credentials. If you don't have one, sign up at tispy.net/signup.
Connect the iOS device
Plug the iPhone / iPad into the computer with the cable.
Tap "Trust" on the device
iOS will ask if it should trust this computer. Tap Trust and enter the device passcode.
Click "+ Add" in TiSPY
TiSPY will detect the device and show an Add button.
Select device to monitor
Pick the iOS device from the list and confirm. Monitoring begins immediately.
Installation Complete!
Your iOS device is now connected to TiSPY. Open the dashboard to start monitoring.